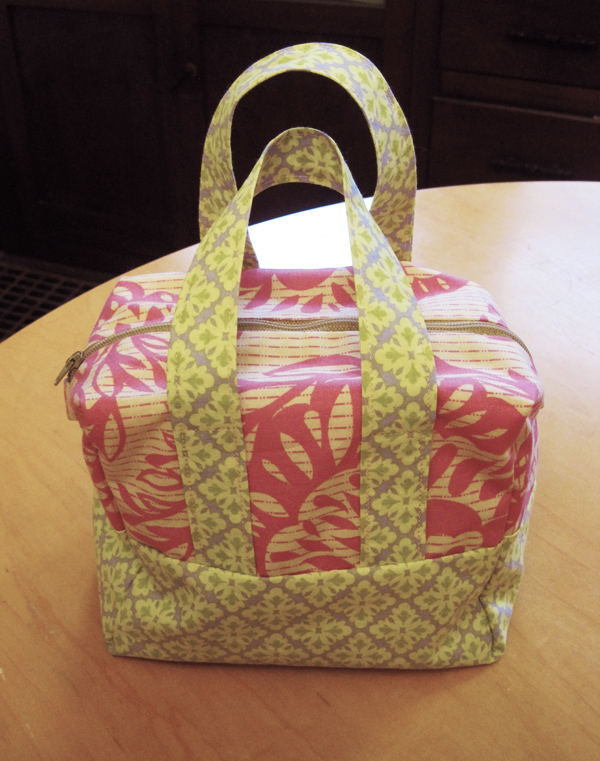
One of my best friends just had baby number two. Baby number one is no longer a baby, but is still young enough to be a bit confused by all the change going on around her and so I wanted to make something special for her. She is into organizing, stacking and carrying things with her, and so I created a little purse just the right size for a three-year-old embarking on the adventure of being a new big sister.
This box bag is pretty simple to whip up. In my haste to make it, I didn’t take a picture each step of the way, but I think these instructions should help you if you’d like to make a similar bag.
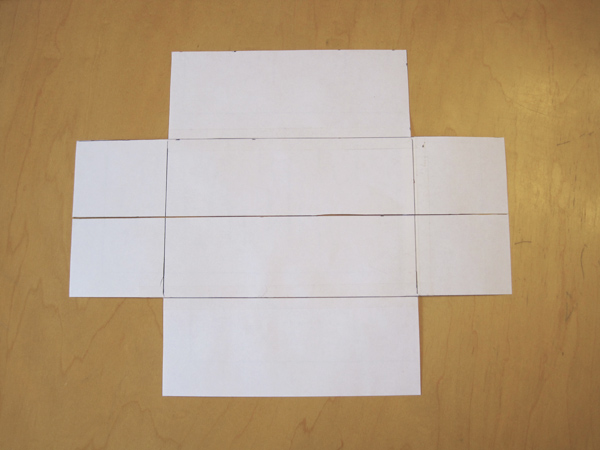
The finished product is approximately 5 inches tall, 8 inches wide and 4 inches deep. To make the above bag, I created the pattern below which measures 14″ long and 11″ inches tall with a 3″ by 3″ square cut from each corner.
Materials:
- 9 inch zipper
- about 1/3 yard for the lining
- about 1/3 yard exterior fabric for bag bottom and handles
- about 1/3 yard exterior fabric for bag top
- coordinating thread
Cutting in out:
1. Using the full pattern piece, you’ll cut two pieces – one from the lining fabric and one from the bottom exterior fabric.
2. After cutting these first two pieces, you’ll fold the paper pattern in half where the pattern is marked in the image above, then add a 1/2 inch to the folded edge. The half inch extension will act as the seam allowance when sewing in the zipper. With this folded pattern piece, cut two pieces in the lining fabric and two pieces in the exterior fabric that you are using for the top of the bag.
3. Once the body and lining of the bag are cut, cut out the handles. For this you’ll cut two strips that are 15″ by 4″.
Sewing it up:
1. First the handles. Make the first handle by ironing it in half length ways, wrong sides of fabric facing in. Unfold, then press each raw edge inward, meeting at the center crease you created. Press. The handle should now measure 15″ by 1″ and no raw edges should be visible. Top stitch along each side. Make the second handle in the same way and set both handles aside.
2. Now for the body of the bag. Sew the zipper to the two exterior fabric pieces you created using the folded pattern piece.
3. Once the zipper is sew in place, using a 1/2 inch seam allowance, stitch the remainder of the top pieces together, from the end of the zipper to the edge of the fabric.
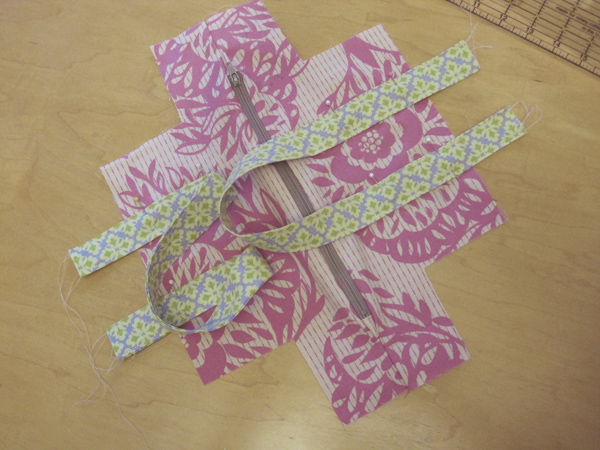
4. Attach the handles to the top of the bag by pinning the bottom ends of each handle along the 8 inch edge, two inches in from the edge of the fabric. Make sure the handles are parallel to one another. Stop pinning after three inches.
After inserting the zipper and pinning the handles in place, your piece should look similar to the image below. (Your handles, however, should be even with the edge of the fabric, not hanging over as mine are. I simply made mine too long to begin with.)
5. Now you want to stitch the handle straps in place. You’ll want to repeat the following step four times, once for each place the handle straps attach to the bag. When attaching the first strap, stitch from the edge of the fabric towards the zipper three inches. Put the needle down, swivel fabric 90 degrees and stitch straight across to the other side of the handle strap, put the pin down, swivel fabric 90 degrees, then stitch back down to the edge of the fabric. Do this for the remaining handle straps.
6. Once the handle straps in are in place, take your your exterior bottom fabric pattern piece and place it on the piece you just created, wrong sides facing. First stitch along both of the 8″ lengths, then along the 5″ lengths. Do not sew the 3″ by 3″ cut outs yet. You will stitch those a different direction.
7. Once you have completed the step above, you’ll now want to make your bag into a cube by pulling the top and the bottom fabrics apart, pinning each corner together perpendicular to the seams you just sewed. When pinning each squared corner together, make sure to match the seams.
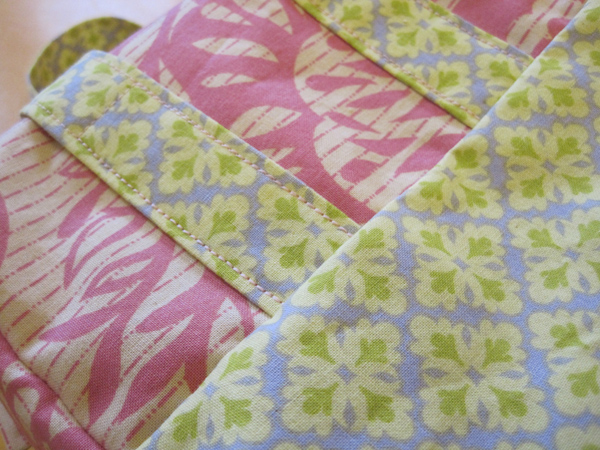
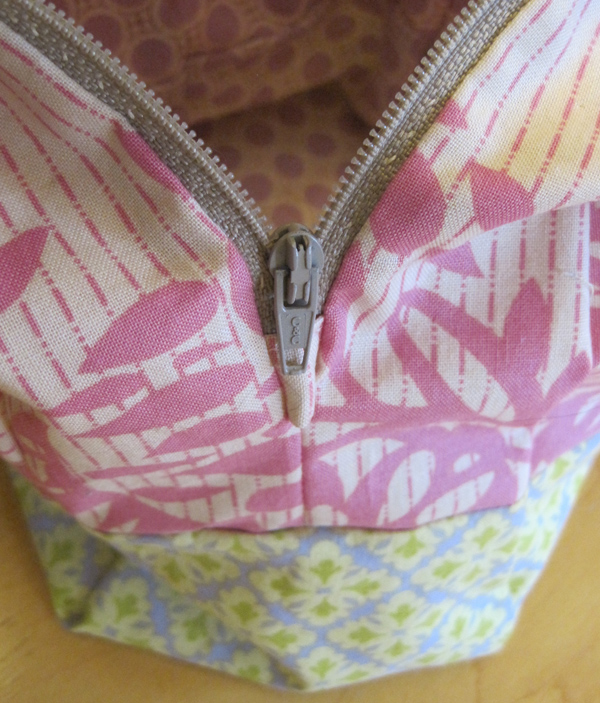
Below is a closeup of what the previous three steps should look like when the bag is turned right side out. At this point the exterior of the bag should be complete. Now for the lining.
8. To make the lining of the bag, take the two lining pieces that go on either side of the zipper and place them right sides together. On the longest side, using a 1/2″ seam allowance, stitch 2.5″ from each edge, reinforcing at both ends and leaving a 9″ opening for the zipper between. Unfold and press the seams open, ironing a 1/2″ crease along both sides. What you have just created will be stitched along the zipper on the interior of the bag in a later step.
9. Follow steps 6 & 7 above to sew the lining top to the lining bottom.
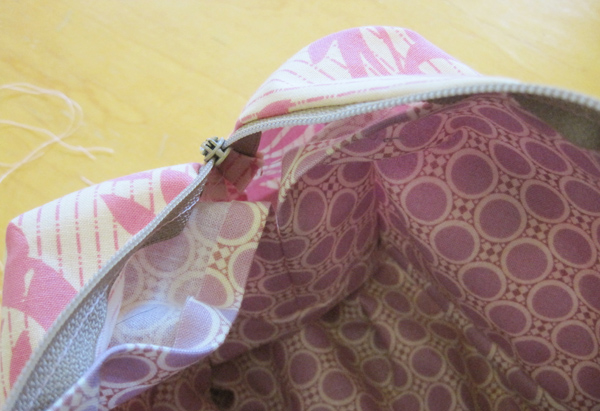
The lining of the bag should look like the purple dot fabric in the image below.
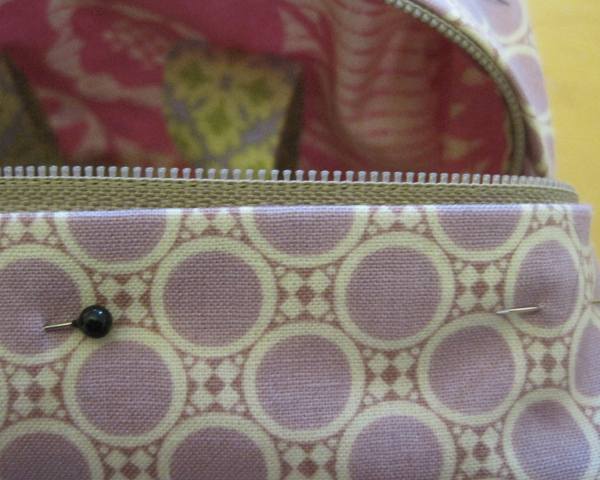
10. Turn the lining of the bag right side out and turn the exterior of the bag inside out, setting it inside the lining as in the image below. Pin the folded edges of the lining along the zipper.
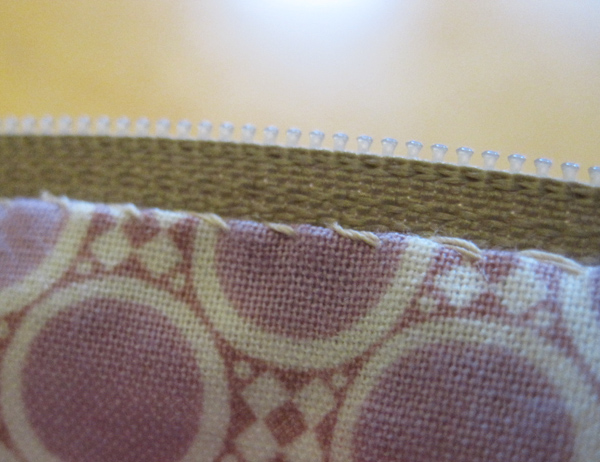
11. Hand stitch in place using the stitch of your choice.
Once the zipper is stitched in place, turn the bag right side out and give it to your favorite toddler (or keep it for yourself).
Also, thanks for reading if you made it this far. This post was kind of tedious.
Leave a Reply