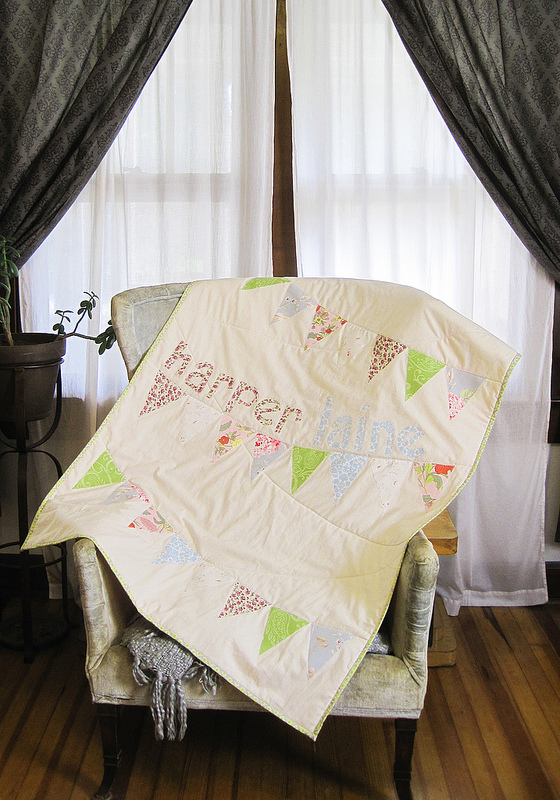
Yesterday morning my brother and his girlfriend welcomed Harper Laine, their healthy little girl, into the world. I’m really happy for him — for them. He’s going to be a terrific father and I think they are going to be a pretty awesome parenting team. And her birth was perfect timing, not only because she arrived right on her due date, but because I was finishing up her baby quilt just as I read my brother’s text that they’d been admitted.
This quilt is a combined effort by my sister and me. After my sister and I showed up at Harper’s baby shower a month ago, both with the very same boring and practical gift in tow, we decided a more personal gift was in order. It was also a pretty good excuse to spend some much-needed time together.
We chose this quilt because it’s so sweet, plus it seemed simple enough that we could finish it in one visit. The pattern for the quilt is based roughly on the Rainbow Bunting Baby Quilt tutorial from A Pretty Cool Life. The fabric on the front is a selection of scraps, including sheets, a duvet and a dress shirt. The amazing fabrics used for the back of the quilt and the binding are from Crimson Tate, the best little fabric shop around.
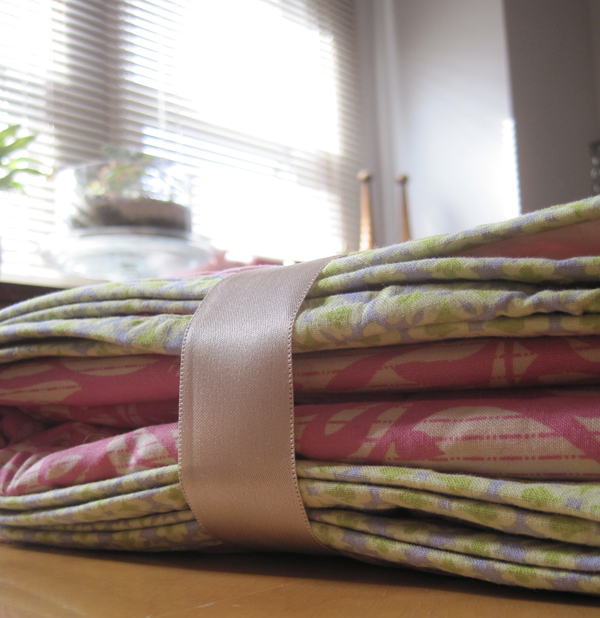
The binding is Spring Promise by Ana Davis and the back is Innocent Crush by Anna Maria Horner. I’m completely in love with both. Swoon.
As for the quilt details, we decided to make it larger by adding a foot more to the length and the width making it 36″ X 48″. We changed the sizes of the bunting flags, added interfacing to the back of each to slow fray, added a few more rows of stitching to secure the front to the back more securely and changed the style of binding. And with our abundance of fabrics we decided to personalize it with her name as well.
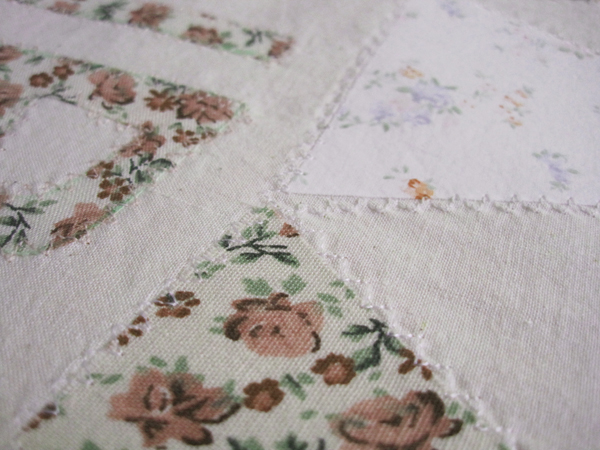
After ironing the bunting and letters down on the front piece, we zigzag stitched around everything.
Once everything was stitched down on the front, we made a fabric sandwich with batting between the front and back quilt pieces. Then we added the binding. Instead of using the binding suggested in the Pretty Cool Life tutorial, I used Heather Bailey’s Continuous Quilt-Binding tutorial.
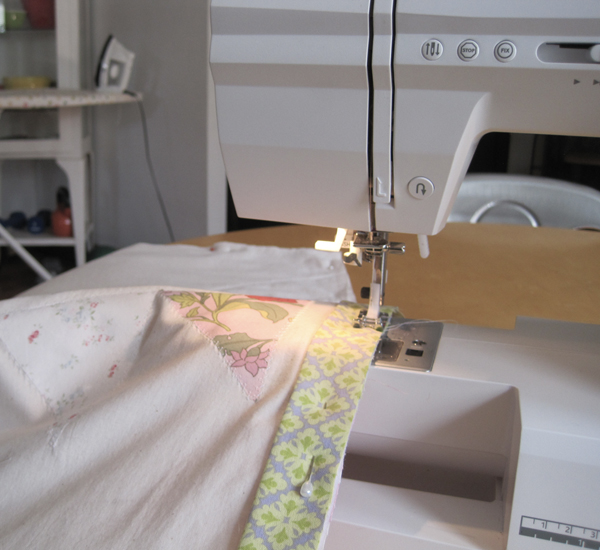
And because I tend to not use any tutorial exactly as it’s written, instead of hand stitching the back of the binding down as per Heather Bailey’s tutorial, I used the machine and stitched in the seam between the front quilt fabric and the binding, catching the binding on the back of the quilt (in the way I bind necklines and arm holes). This binding method didn’t work perfectly the first time, but after my 2nd and 3rd attempts everything finally got stitched in place. Then I hand stitched each corner to complete.
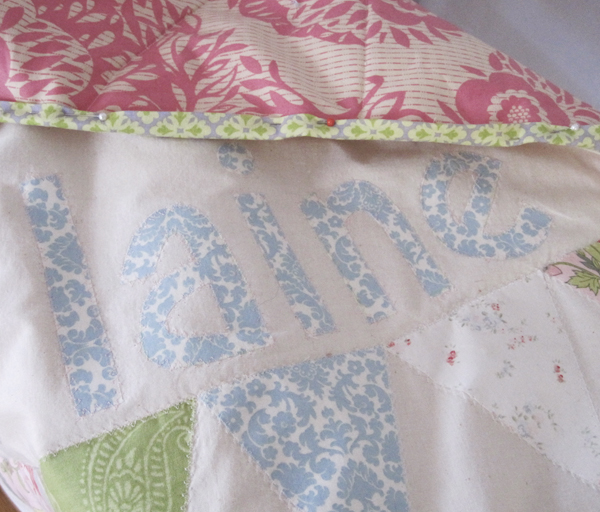
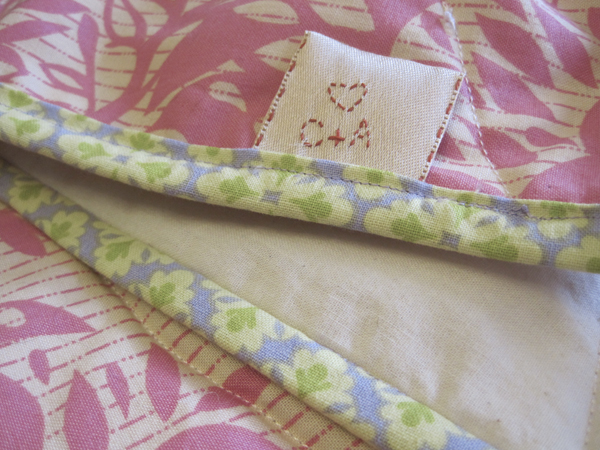
Above is a peek at the front of the binding as well as the back of the binding (where you can see the stitches). We also included a little tag so that she is reminded that her aunts love her. And that’s a funny thing to say. My sister and I are aunts. My parents are grandparents. My brother is a dad. And everyone is happy. Life is good like that.
Leave a Reply